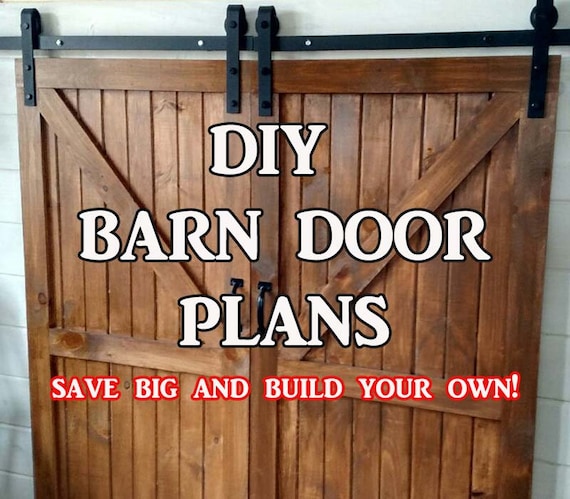
DIY Guide to Building a Plywood Shed Door
- Get link
- X
- Other Apps
DIY Guide to Building a Plywood Shed Door
Introduction
Building a plywood shed door is a cost-effective and straightforward way to secure your shed. This guide will take you through the step-by-step process of planning, constructing, and installing a durable and functional plywood door for your shed.
Materials and Tools Needed
Materials
- Plywood: 3/4 inch thick, exterior grade
- 2x4 Lumber: For the door frame and bracing
- Hinges: Heavy-duty, suitable for exterior use
- Door Handle and Lock: For security
- Screws and Nails: Galvanized to prevent rust
- Weatherstripping: To seal the edges and keep out moisture
- Paint or Wood Sealant: To protect the door from the elements
Tools
- Measuring Tape
- Circular Saw or Table Saw
- Drill and Drill Bits
- Screwdriver
- Hammer
- Level
- Clamps
- Paintbrush or Roller
Step-by-Step Instructions
1. Measure the Door Opening
- Width and Height: Measure the width and height of the door opening. Subtract 1/4 inch from both dimensions to ensure the door fits easily into the frame.
- Plan for Clearance: Ensure there is enough clearance at the bottom for the door to swing open without obstruction.
2. Cut the Plywood
- Mark the Dimensions: Using your measurements, mark the plywood sheet with a pencil.
- Cut to Size: Cut the plywood to the required dimensions using a circular saw or table saw. Ensure the cuts are straight and clean.
3. Build the Door Frame
- Cut 2x4s: Cut 2x4 lumber to create the frame for the door. You will need two vertical pieces (stiles) and two horizontal pieces (rails).
- Assemble the Frame: Lay out the 2x4 pieces on a flat surface, forming a rectangle that matches the dimensions of the cut plywood. Use screws or nails to secure the joints.
- Add Diagonal Bracing: To prevent the door from sagging, add a diagonal brace from one corner of the frame to the opposite corner.
4. Attach the Plywood to the Frame
- Position the Plywood: Place the plywood sheet on top of the assembled frame, ensuring it is centered and flush with the edges.
- Secure with Screws: Use galvanized screws to attach the plywood to the frame. Space the screws about 8 inches apart along the edges and across the diagonal brace.
5. Install Hinges
- Mark Hinge Locations: Position the hinges on the door, approximately 6-8 inches from the top and bottom edges. Mark the screw holes.
- Pre-Drill Holes: Pre-drill holes for the screws to prevent splitting.
- Attach Hinges: Secure the hinges to the door using screws. Ensure they are aligned properly for smooth operation.
6. Install the Door Handle and Lock
- Mark the Placement: Choose the location for the door handle and lock. Mark the screw holes and the hole for the lock mechanism.
- Drill Holes: Drill the necessary holes for the handle and lock.
- Attach Handle and Lock: Install the handle and lock according to the manufacturer's instructions.
7. Apply Weatherstripping
- Seal the Edges: Apply weatherstripping around the edges of the door to prevent drafts and moisture from entering.
- Ensure a Tight Fit: Check that the weatherstripping creates a tight seal when the door is closed.
8. Paint or Seal the Door
- Protect the Wood: Apply a coat of exterior paint or wood sealant to protect the door from the elements.
- Multiple Coats: For best results, apply multiple coats, allowing each coat to dry thoroughly before applying the next.
9. Hang the Door
- Position the Door: With the help of a friend, position the door in the opening. Ensure it is level and has the necessary clearances.
- Secure Hinges to Frame: Attach the hinges to the shed frame using screws. Double-check that the door swings freely and closes securely.
Conclusion
Building a plywood shed door is a manageable DIY project that requires basic carpentry skills and tools. By following these steps, you can create a sturdy, functional, and weather-resistant door that enhances the security and appearance of your shed. Customize the door with paint or stain to match your shed and enjoy the satisfaction of a job well done.

Comments
Post a Comment